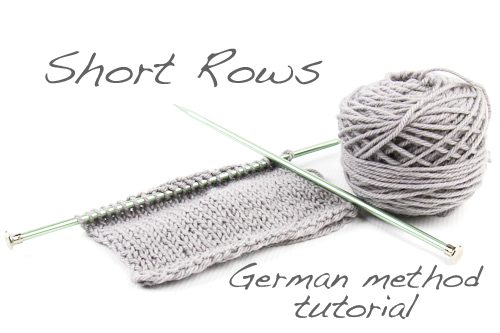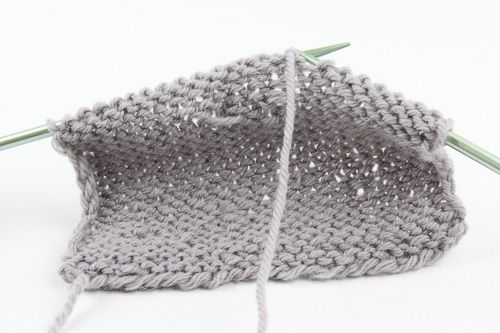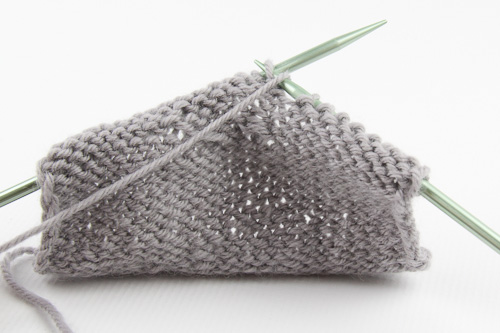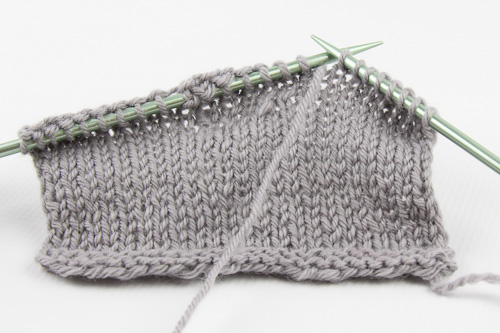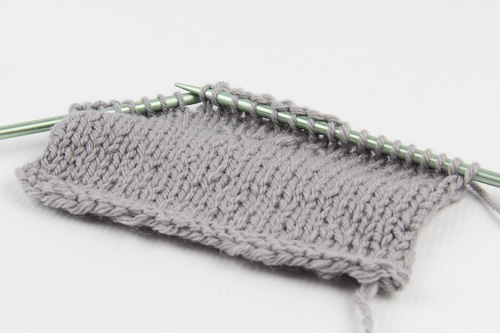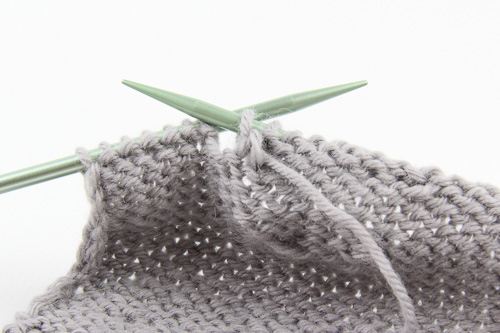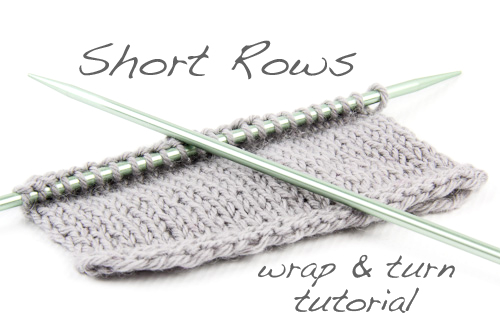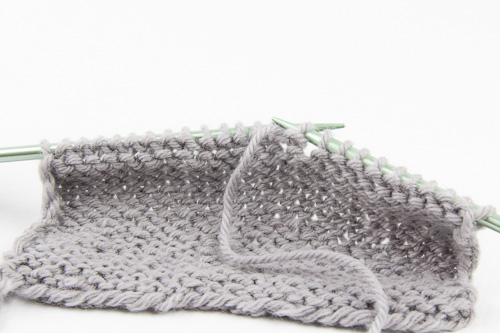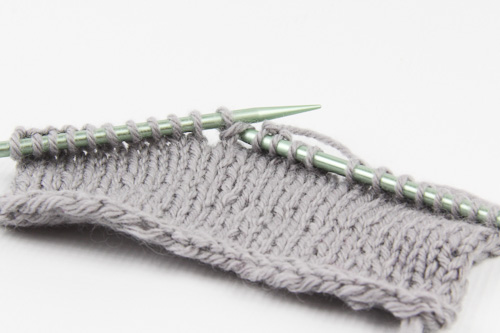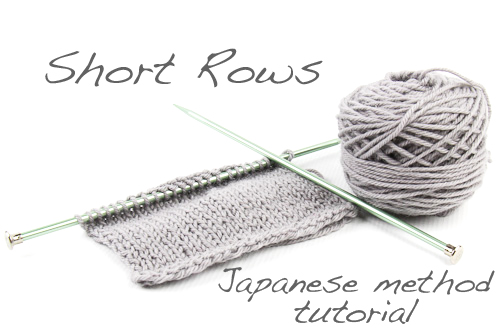
The fourth in my series of tutorials for working Short Rows demonstrates the Japanese method. As in the German method, an extra loop is pulled up from below to disguise the turning point; instead of pulling it up with a YO, the working yarn is marked when the work is turned and later pulled up to create the extra loop at the time of closing the gap. This method requires a removable stitch marker, bobby pin or scrap yarn to mark the loop to be pulled up.
The Japanese method on a knit row:
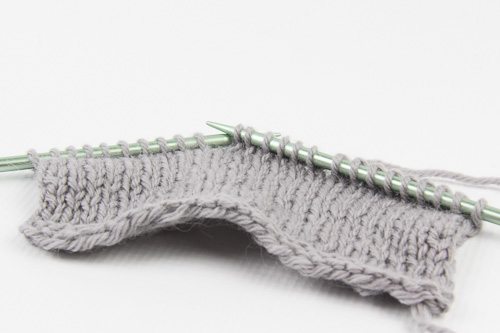
1. Knit to the turning point, and turn the work; slip the next stitch purlwise.
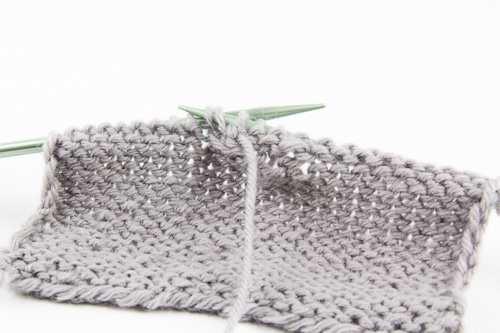
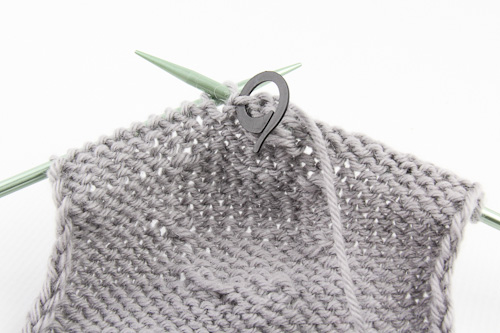
2. Place a removable stitch marker on the working yarn at the front of the work.
3. Purl the next row as needed.
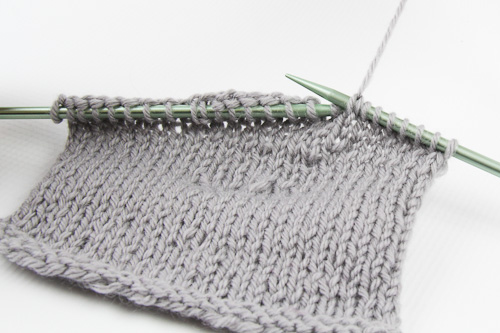
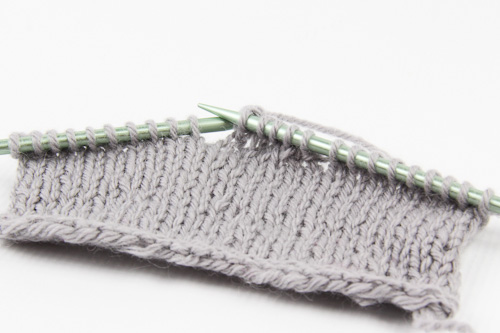
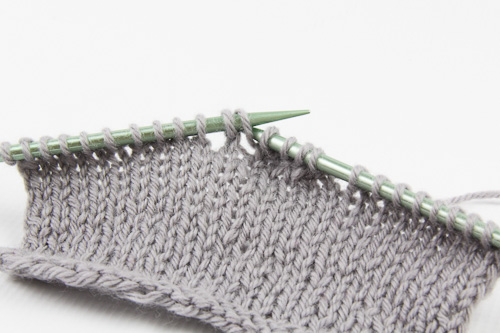
The Japanese method on a purl row:
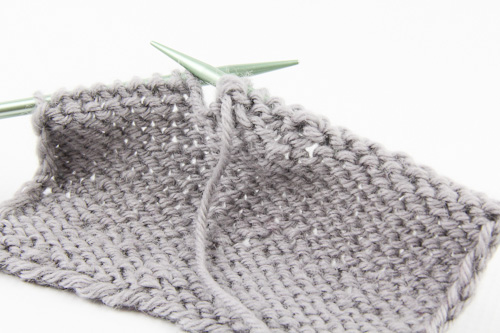
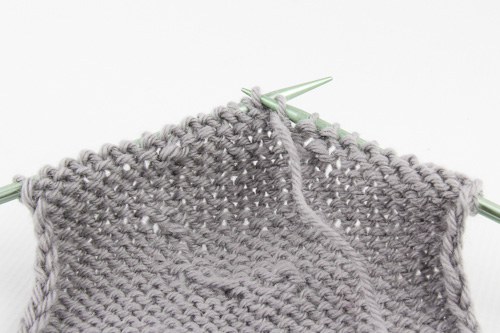
1. Purl to the turning point, and turn the work; slip the next stitch purlwise.
2. Place a removable stitch marker on the working yarn at the back of the work; knit the next row as needed.
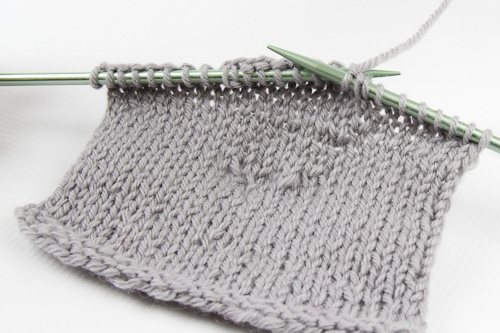
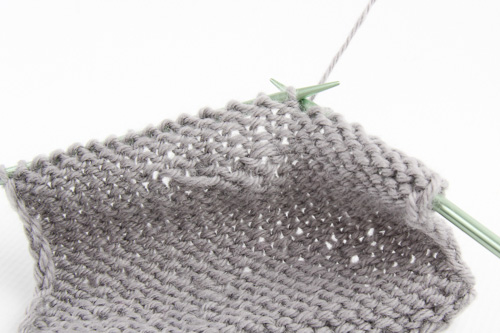
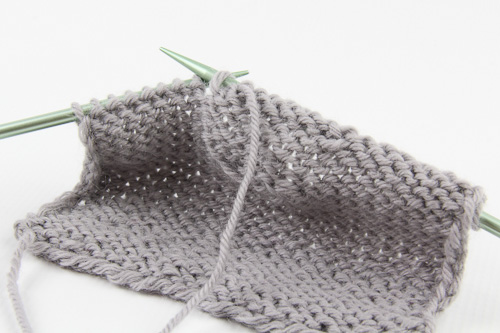
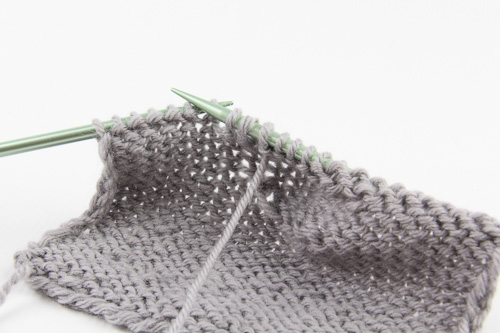
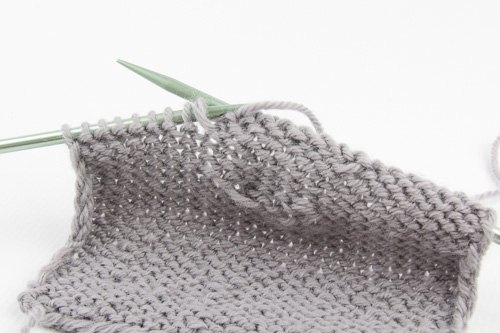
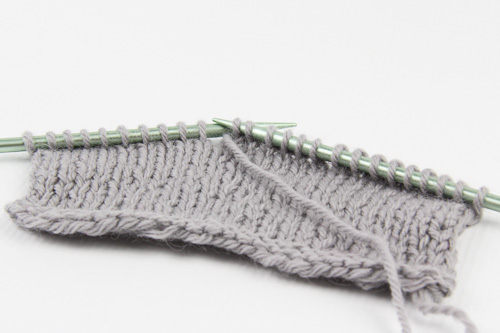
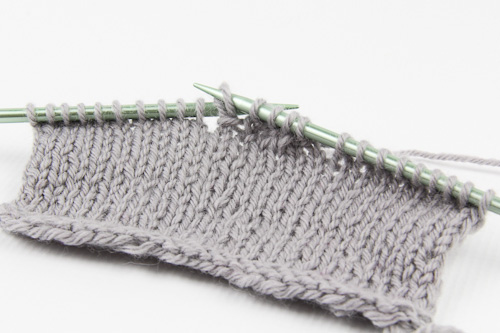
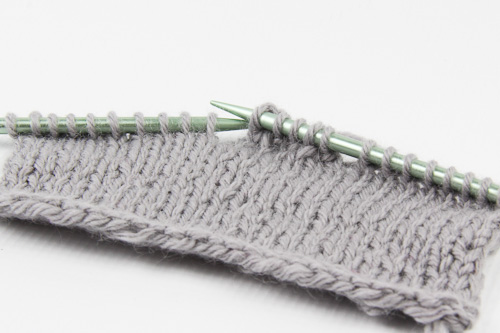
To close the gap on a knit row:
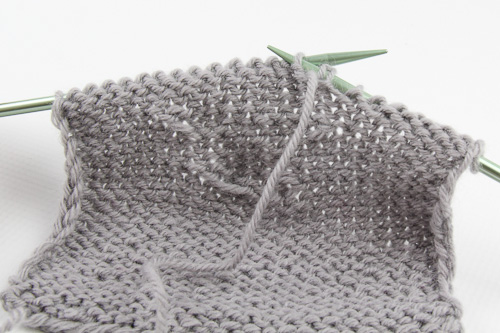
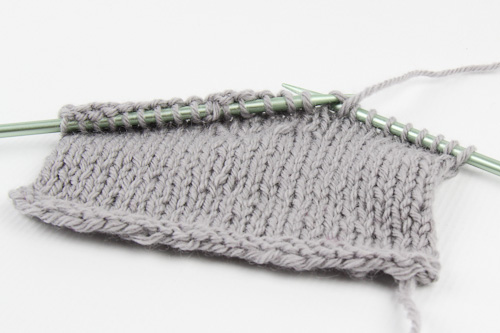
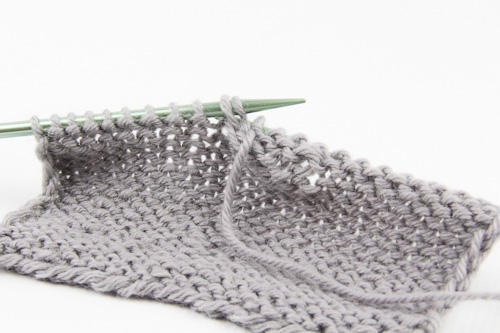
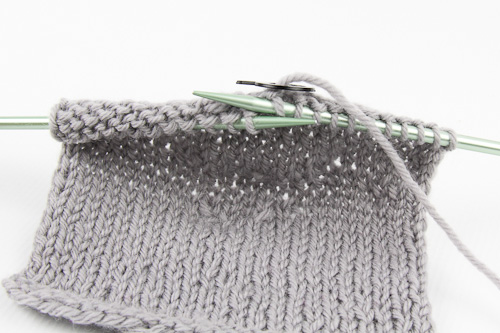
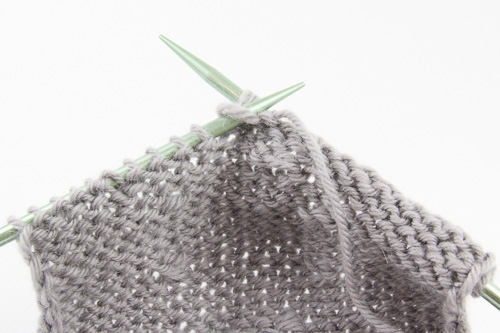
1. Knit to the gap; the stitch marker is at the back of the work.
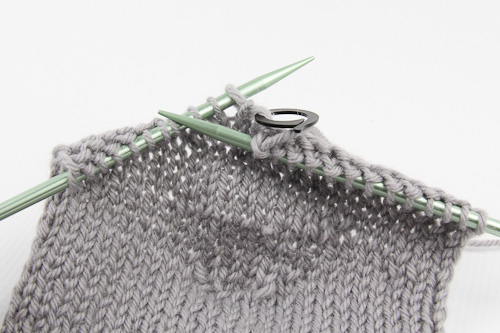
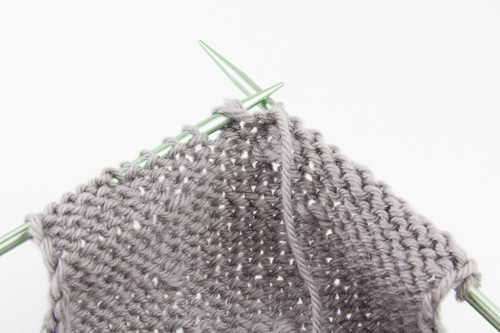
2. Pull up a loop of yarn by pulling on the stitch marker, and place the loop on the left needle.
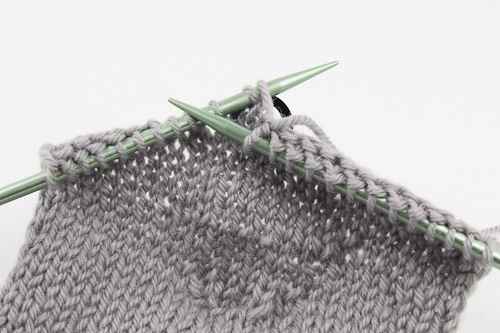
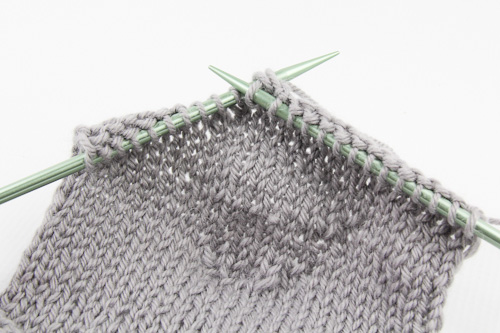
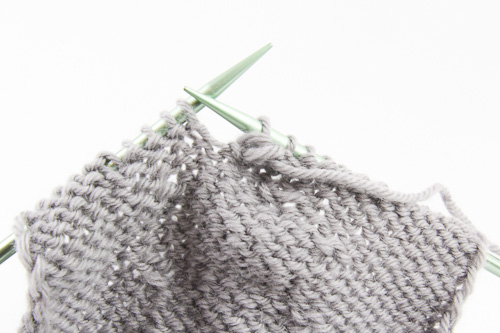
3. Knit the loop and the next stitch together as one; continue knitting.
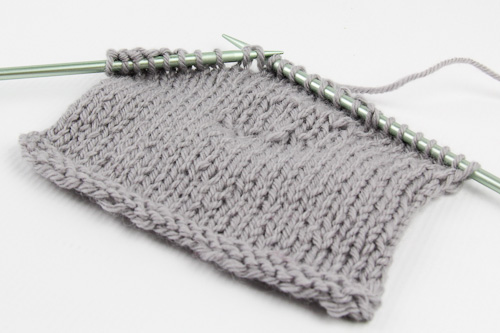
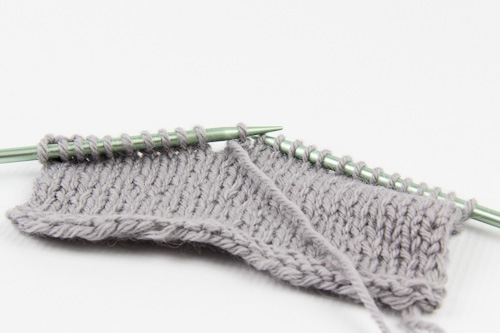
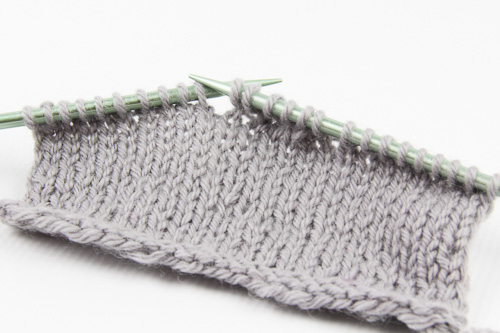
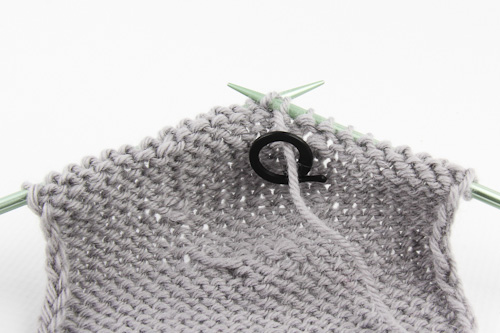
To close the gap on a purl row:
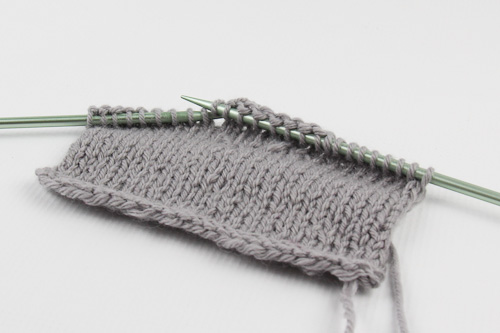
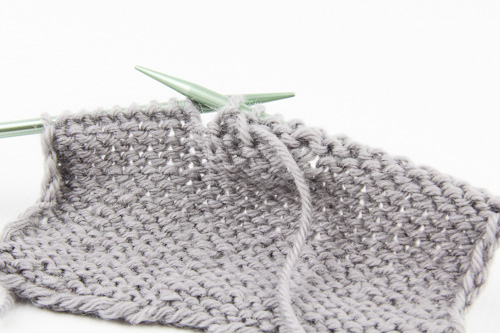
1. Purl to the gap, where the stitch marker is at the front of the work, and slip the next stitch purlwise to the right needle.
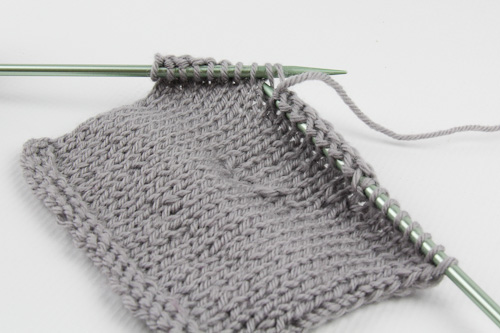
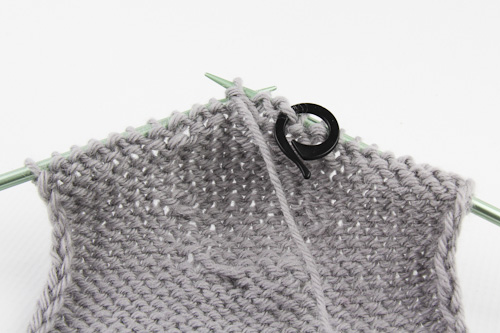
2. Pull up a loop of yarn by pulling on the stitch marker, and place the loop on the left needle..
3. Slip the stitch on the right needle back to the left needle without twisting it.
4. Purl the stitch and the loop together as one; continue purling.
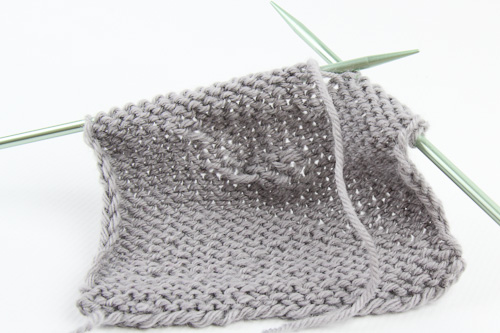
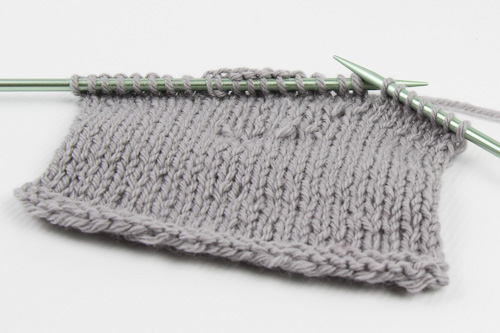
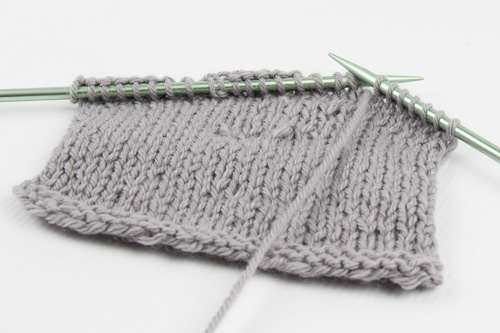
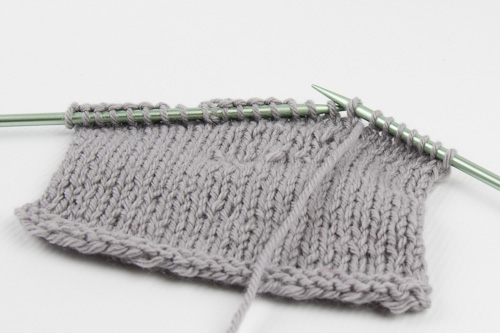
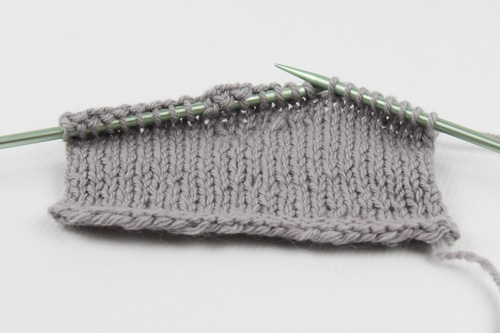
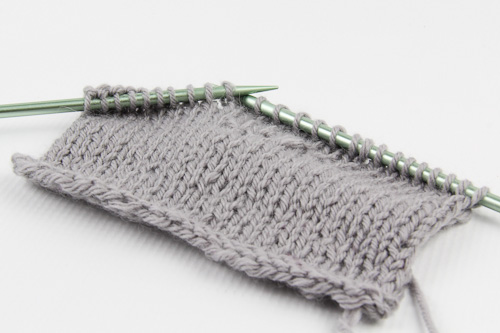
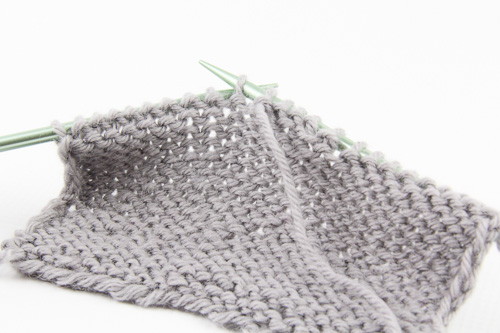
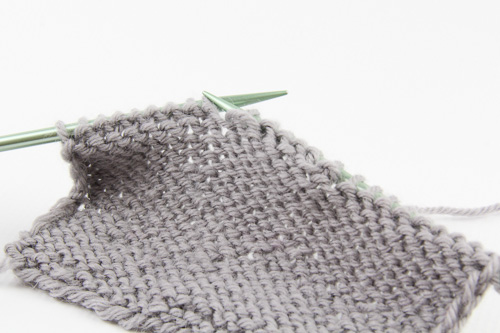
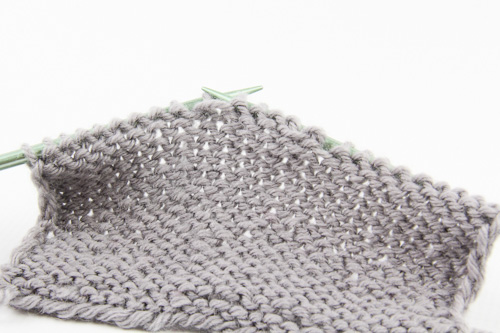
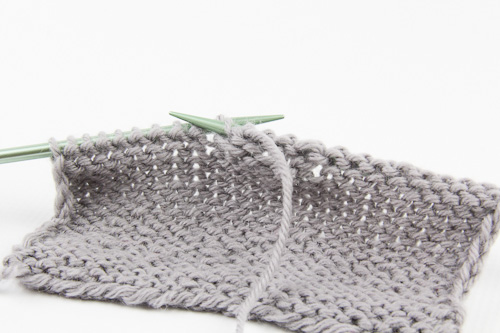
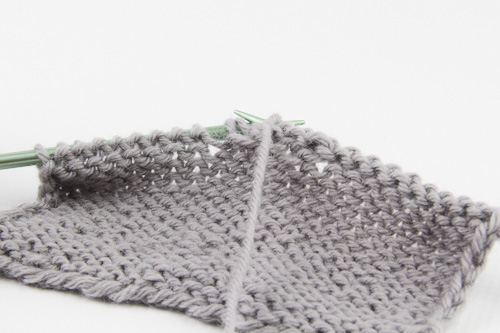
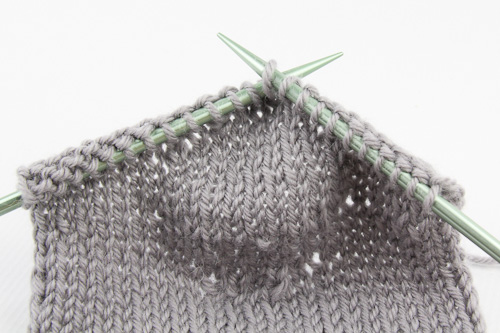
The Japanese method in my opinion is the tidiest on both the RS and WS, since the absence of wraps and YOs means that there’s very little excess yarn. It does take a bit longer to work because you have to place and remove the marker that indicates where to pull up a loop, but it’s simple to do. With some experience, and depending on the yarn texture, size and color, you might even be able to see which loop to pull up without marking it.
The next tutorial will demonstrate another way of pulling up a stitch, with Short Rows using the shadow wrap method.
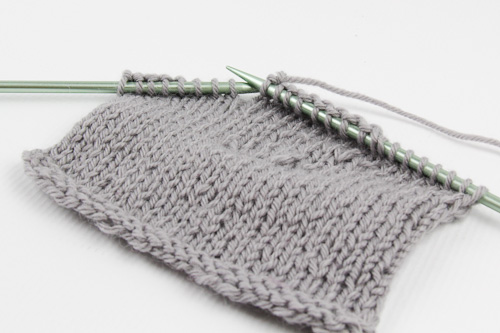
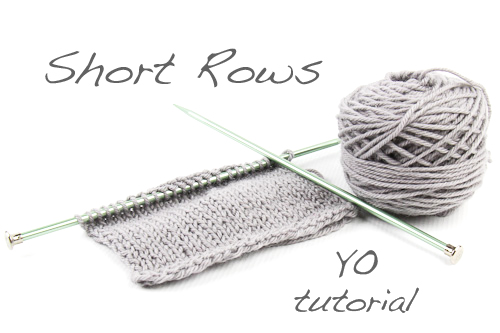
For the other tutorials in the Short Rows series, see:
Short Rows using the wrap & turn method
Short Rows using the yarnover method
Short Rows using the German method
Short Rows using the Shadow Wrap method