
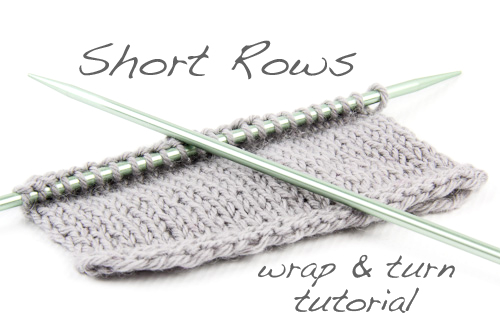
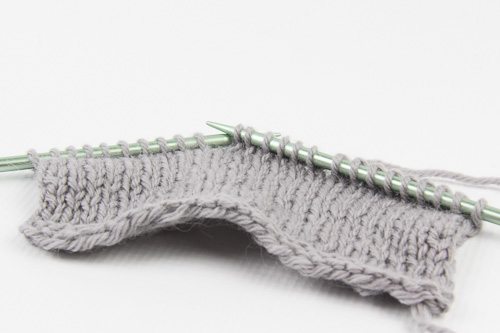
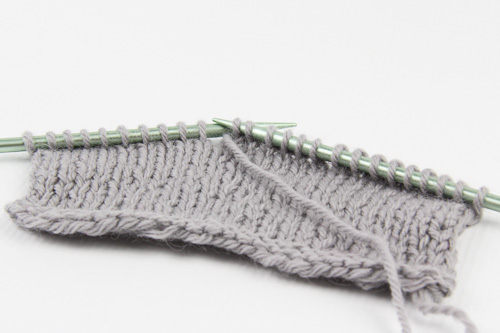
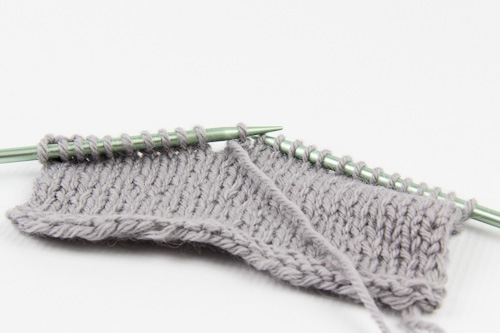
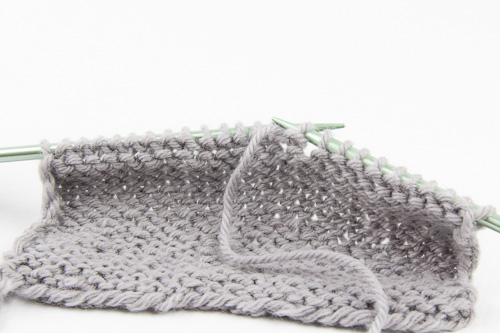
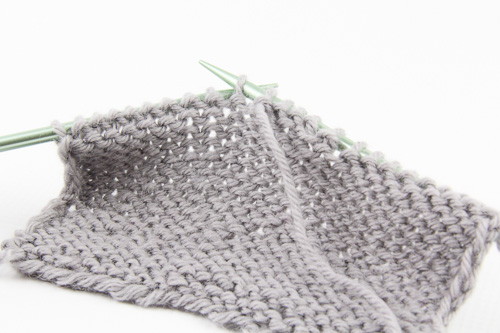
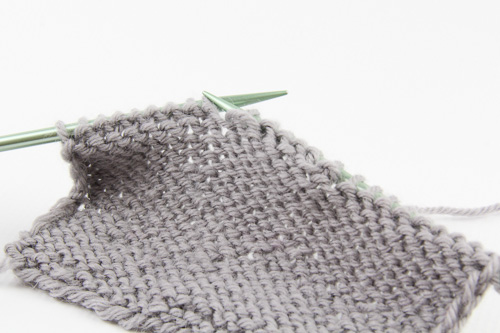
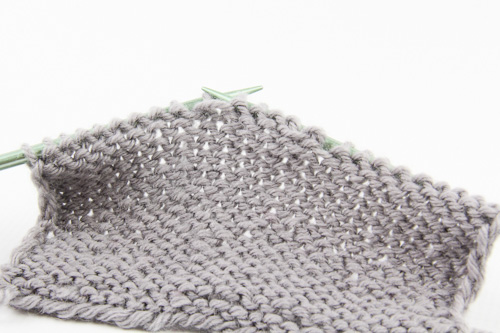
Short Rows are one of my very favorite knitting things, ever. Need to shape a hem, make a bust dart or a shoulder slope? No seaming, no binding off, no problem – just work short rows and you can have angled sections of knitting that create shape and make a garment better fitting, or a shawl more interesting.
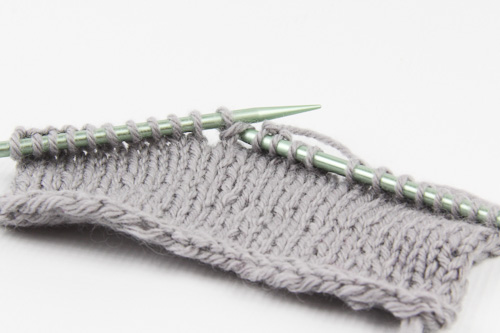
There are many ways to work short rows, all of which involve working a partial row (thus, the “short”) and then using one of several methods to turn the work and go back in the opposite direction, while making the turning point unobtrusive and attractive. Perhaps the most common and basic is the wrap & turn method, sometimes abbreviated to w&t. To work it, here’s what you have to do:
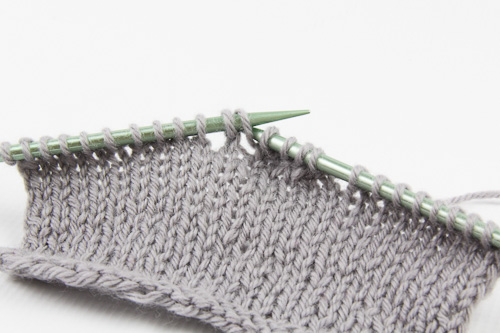
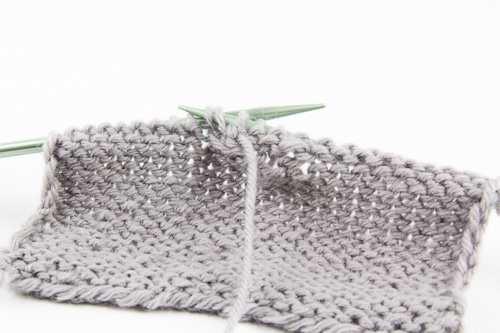
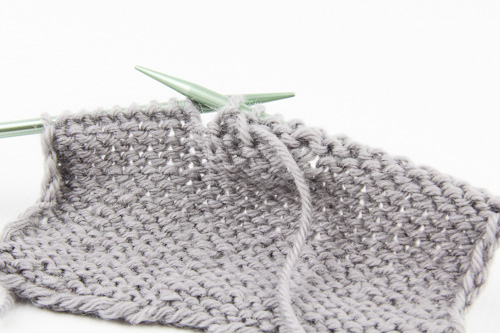
To w&t on a knit row:
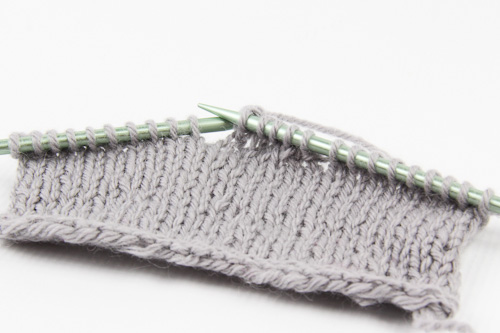
1. Knit to the turning point; with yarn in back, insert the right needle tip purlwise into the next st, and slip it to the right needle.
2. Bring the yarn to the front.
3. Slip the wrapped st back to the left needle.
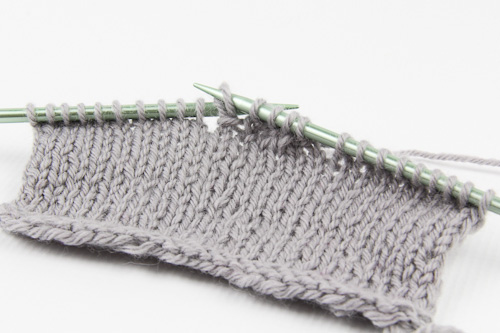
4. Turn the work, and if you’re working in stockinette stitch, bring the yarn to the front and purl the next row. If you’re working in garter stitch, leave the yarn in back when you turn the work, and knit the next row.
To w&t on a purl row:
1. Purl to the turning point; with yarn in front, insert the right needle tip purlwise into the next st, and slip it to the right needle.
2. Bring the yarn to the back.
3. Slip the wrapped st back to the left needle.
4. Turn the work and bring the yarn to the back and knit the next row. If you’re working in garter stitch, every row is a knit row, and you’ll be following the directions above instead.

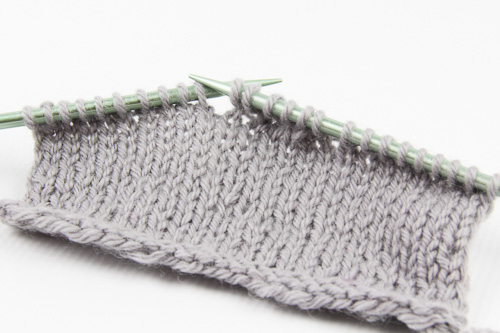
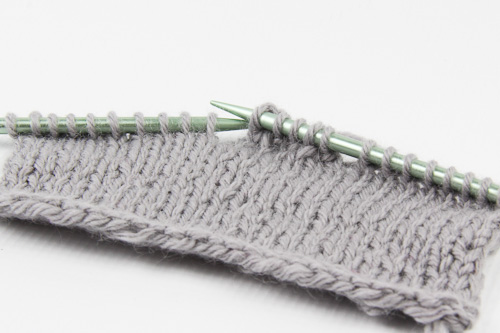
In stockinette stitch, the wraps would be visible in the fabric if just left there when you came back and worked the wrapped stitch on a subsequent row. To avoid that, you can hide the wrap by picking it up and working it together with the wrapped st.
To pick up a wrap on a knit row*:
1. Insert right needle tip knitwise into the front of the wrap.
2. Then insert needle knitwise into the wrapped st.

3. Knit the wrap and the st together as one.
*Alternate Version – sometimes the wrapped stitch can be a bit wonky after it’s worked, because the wrap isn’t pulled completely to the back. If you find this to be the case, try an alternate version of picking up the wrap:
1. Insert right needle tip purlwise into the wrapped st and slip it to the right needle.
2. With left needle tip, lift the wrap over the st and place it to the right of the st on the right needle. This takes a bit of manipulation.
3. Slip both st and wrap back to the left needle.
4. Knit the wrap and the st together as one.
To pick up a wrap on a purl row*:
1. Insert right needle tip purlwise into the back of the wrap.
2. Place the wrap onto the left needle.
3. Insert right needle purlwise into both wrap and st.
3. Purl the wrap and the st together as one.
*Alternate Version – as on the RS, sometimes the wrapped stitch can be a bit wonky after it’s worked; try this alternate version of picking up the wrap to make it more invisible:
1. Insert right needle tip purlwise into the back of the wrap.
2. Place the wrap over the st and onto the left needle, to the left of the st. Again, some manipulation is necessary.
3. Purl the wrap and the st together as one.
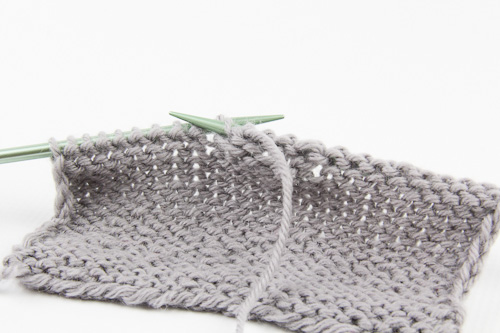
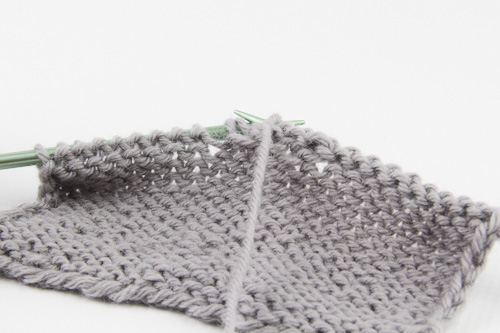
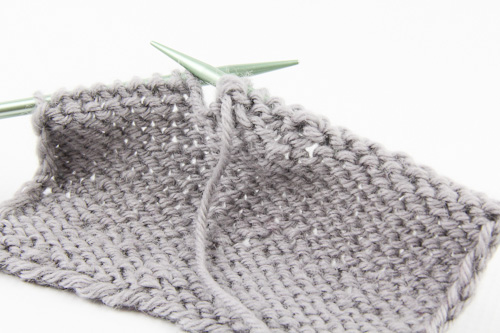
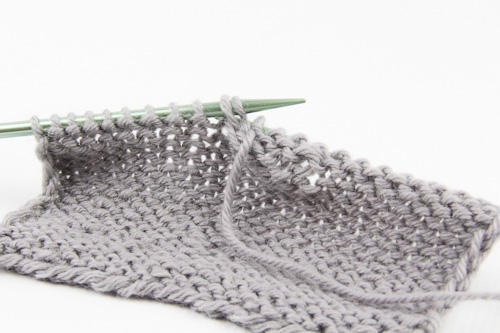
In garter stitch, there is generally no need to pick up the wraps, since they disappear into the garter fabric; just knit subsequent rows, leaving the wraps where they are. For this reason, I like the quick and easy wrap & turn method when I’m working garter stitch. Depending on your yarn, w&t may not be the tidiest method when working in stockinette stitch, especially if the purl side will be visible. For other short row methods, I’ll be posting additional tutorials in the upcoming weeks.
Short Rows using the yarnover method
Short Rows using the German method